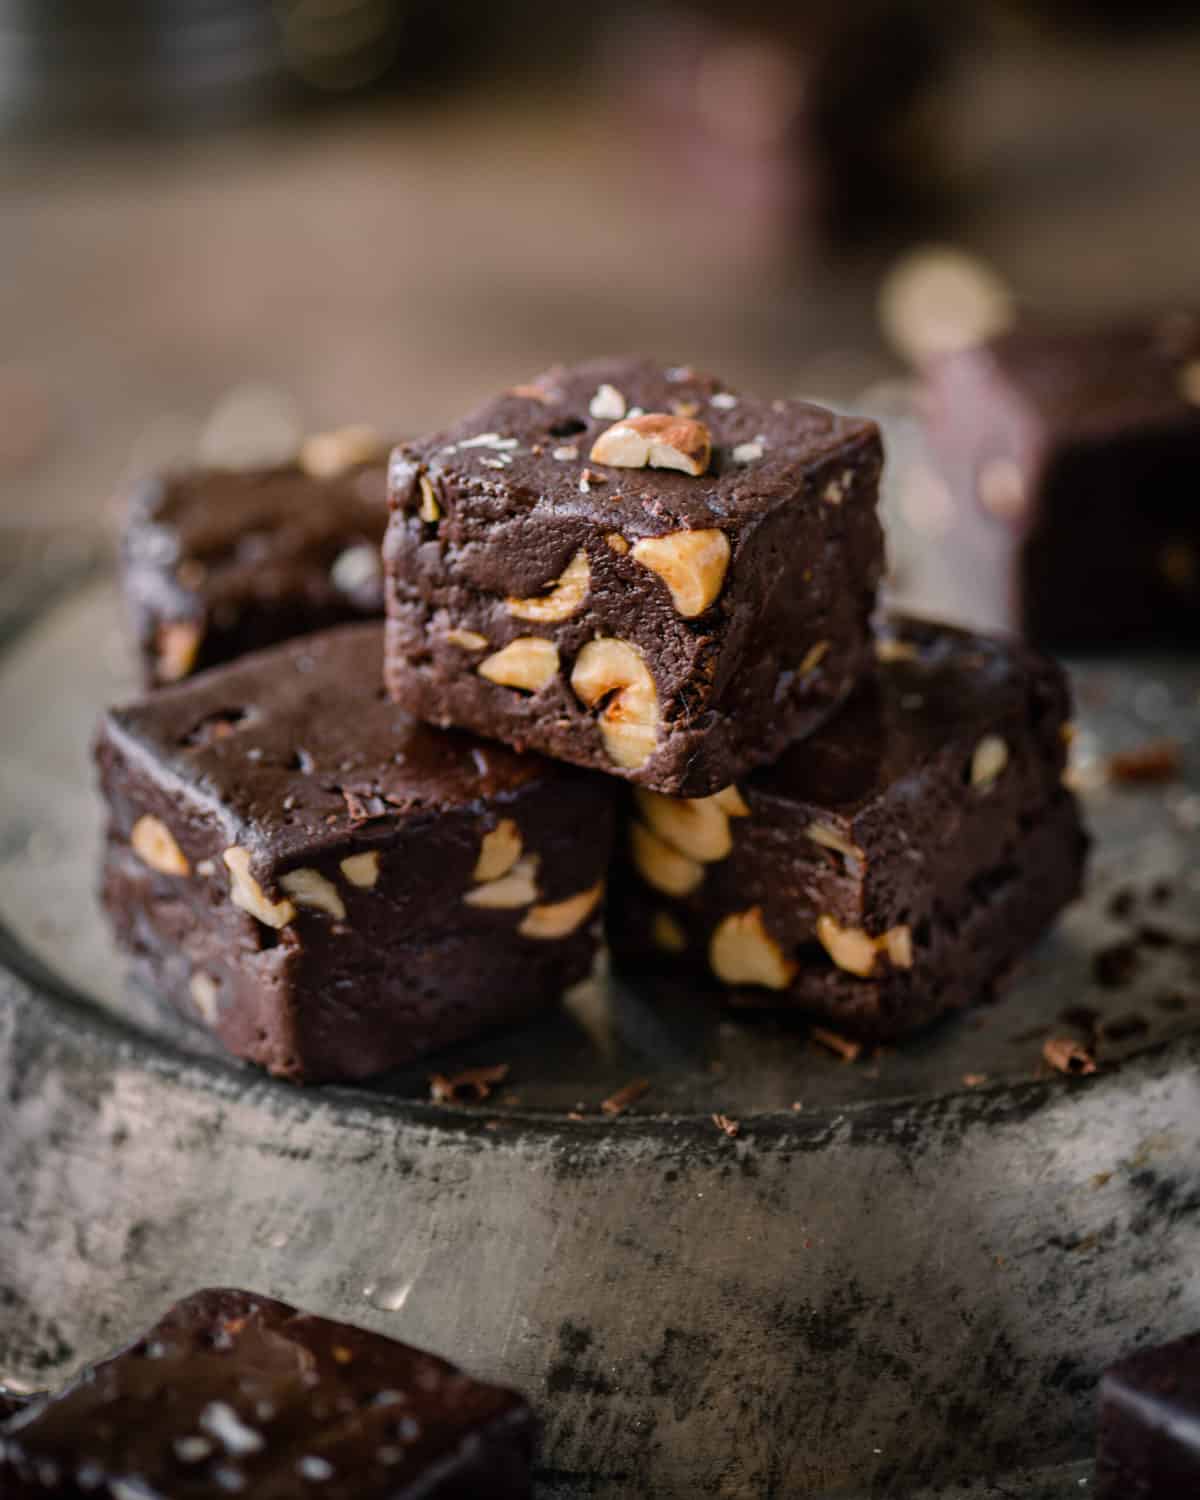
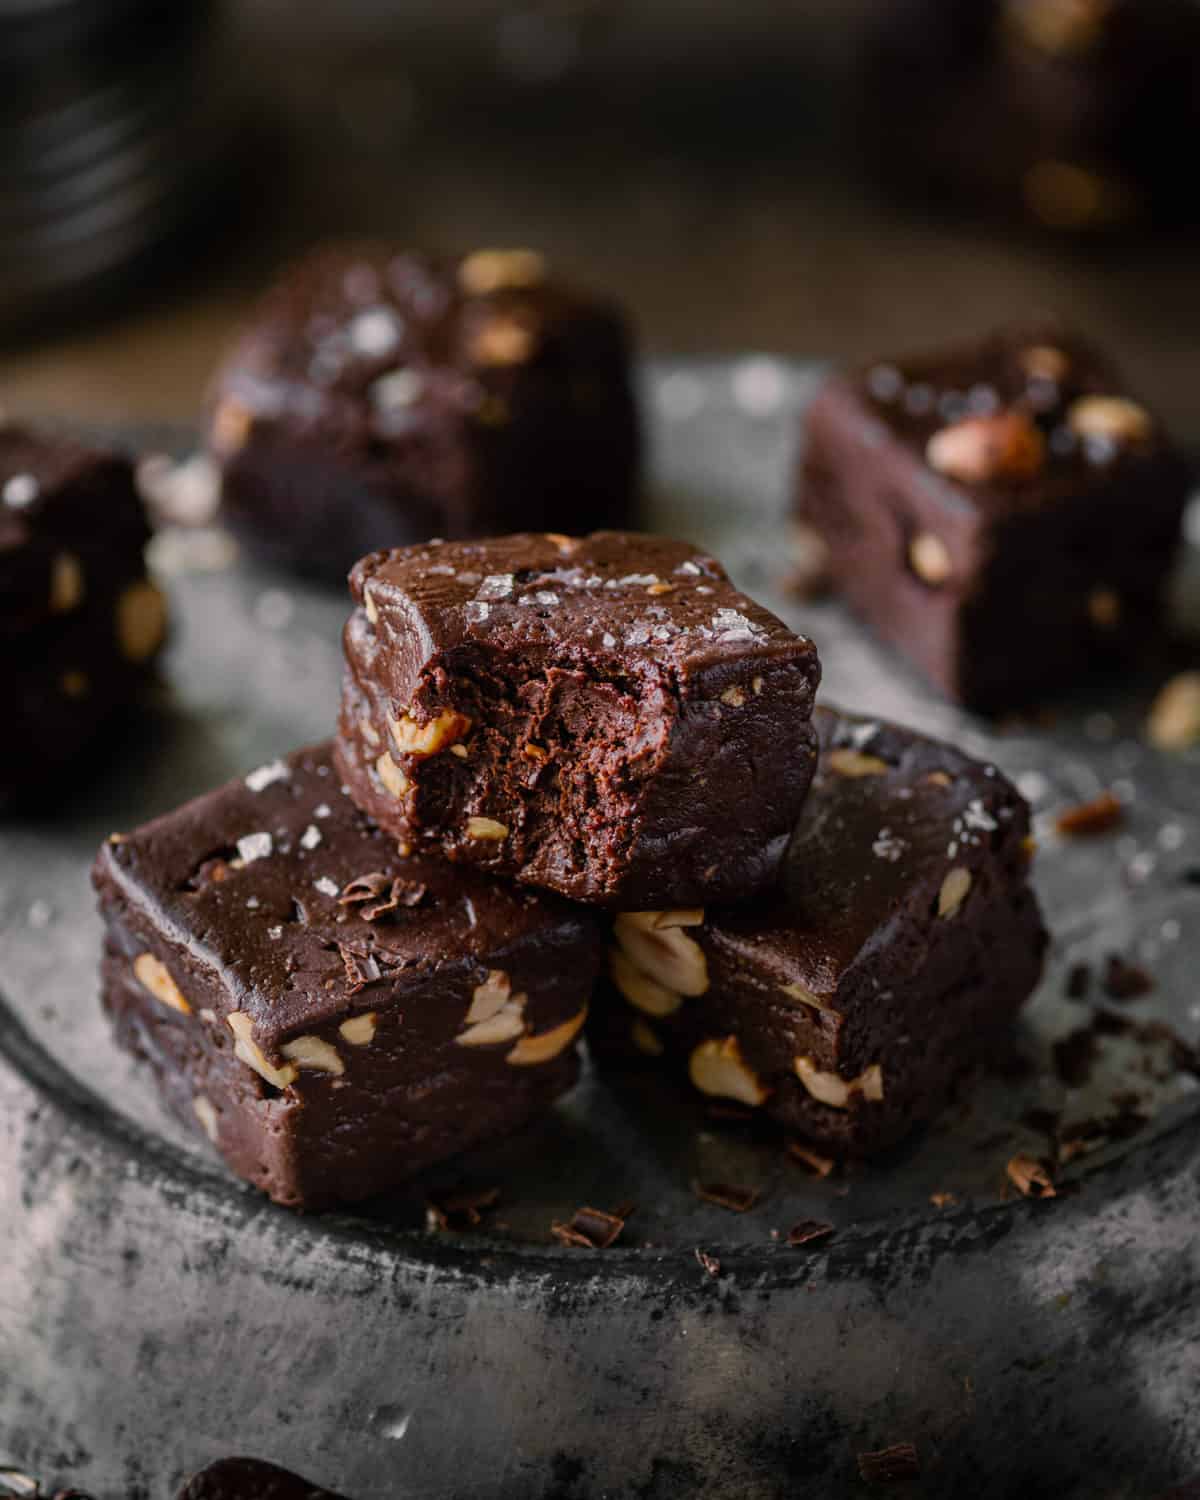
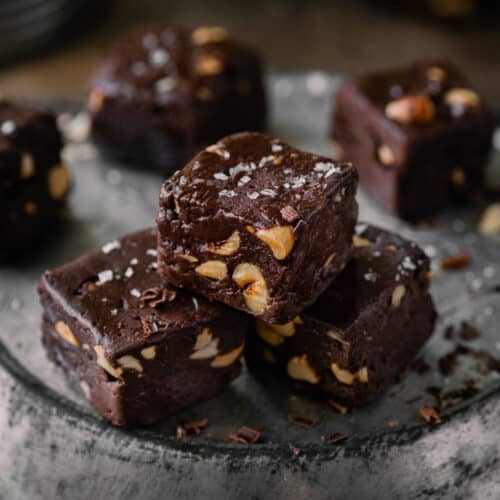
That said, this vegan fudge is a little more grownup than the classic. First, it uses dark chocolate to avoid being too sweet. Fudge is already so rich that too much sweetness makes it cloying and inedible IMO. Second, it adds toasted hazelnuts. The crunch adds a nice contrast to the rich creamy fudge texture, and of course chocolate + toasted hazelnuts = heavenly Ferrero Rocher flavor. This fudge recipe is also ridiculously easy and quick to make. If you’re a fan of quick, no-bake chocolate treats, be sure to also check out my Salted Chocolate Cream Tart. For something on the healthier side, my No-Bake Cookie Dough Bars are a great choice.
How to make vegan fudge (step-by-step photos)
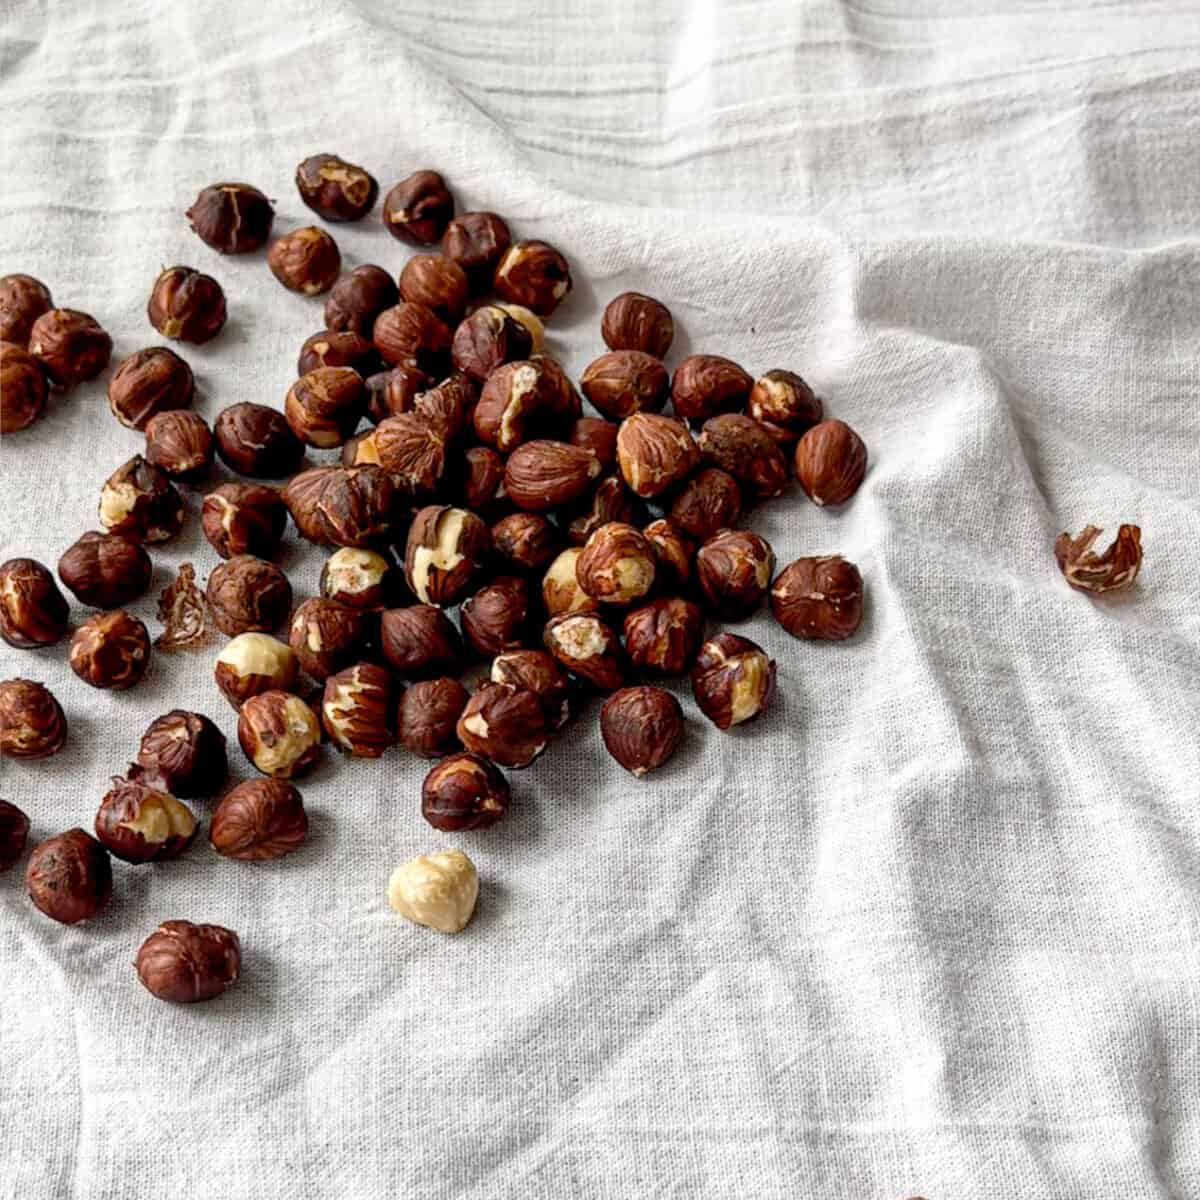
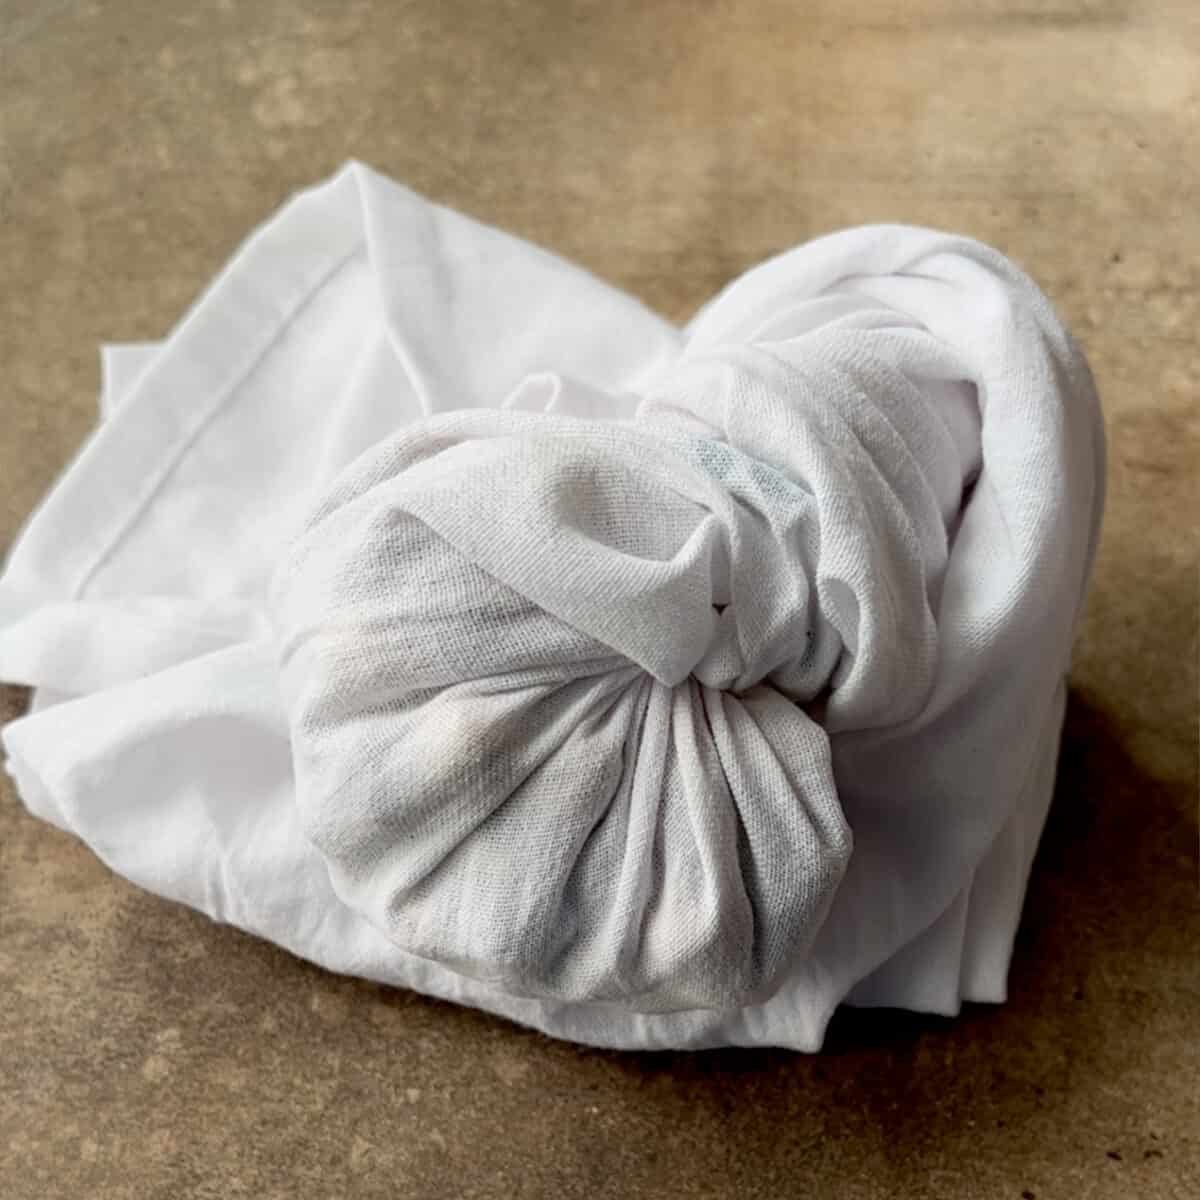
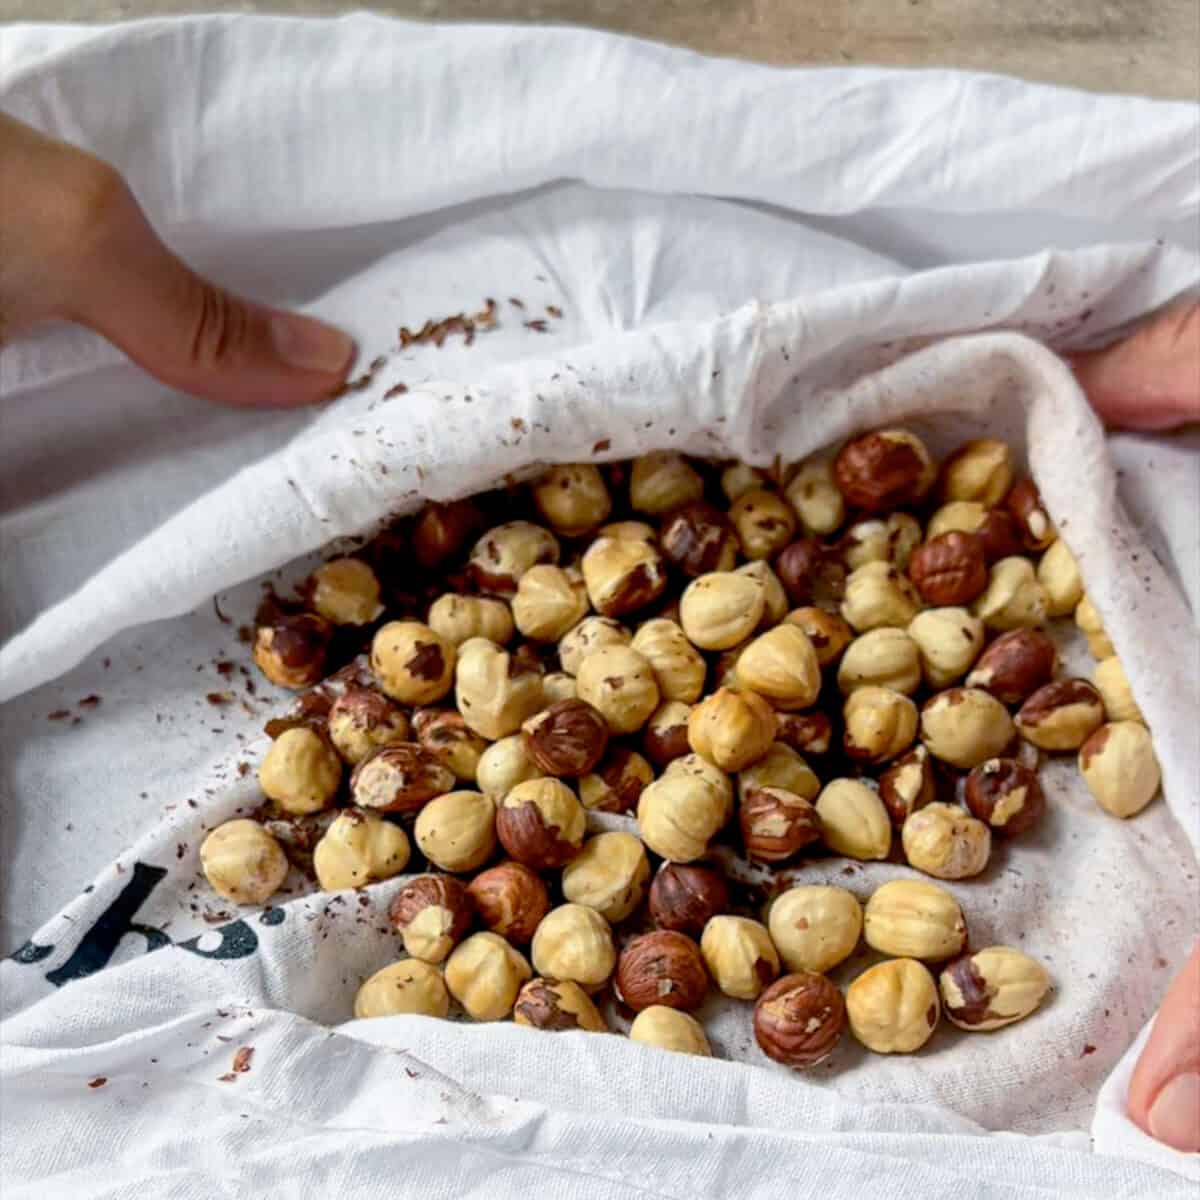
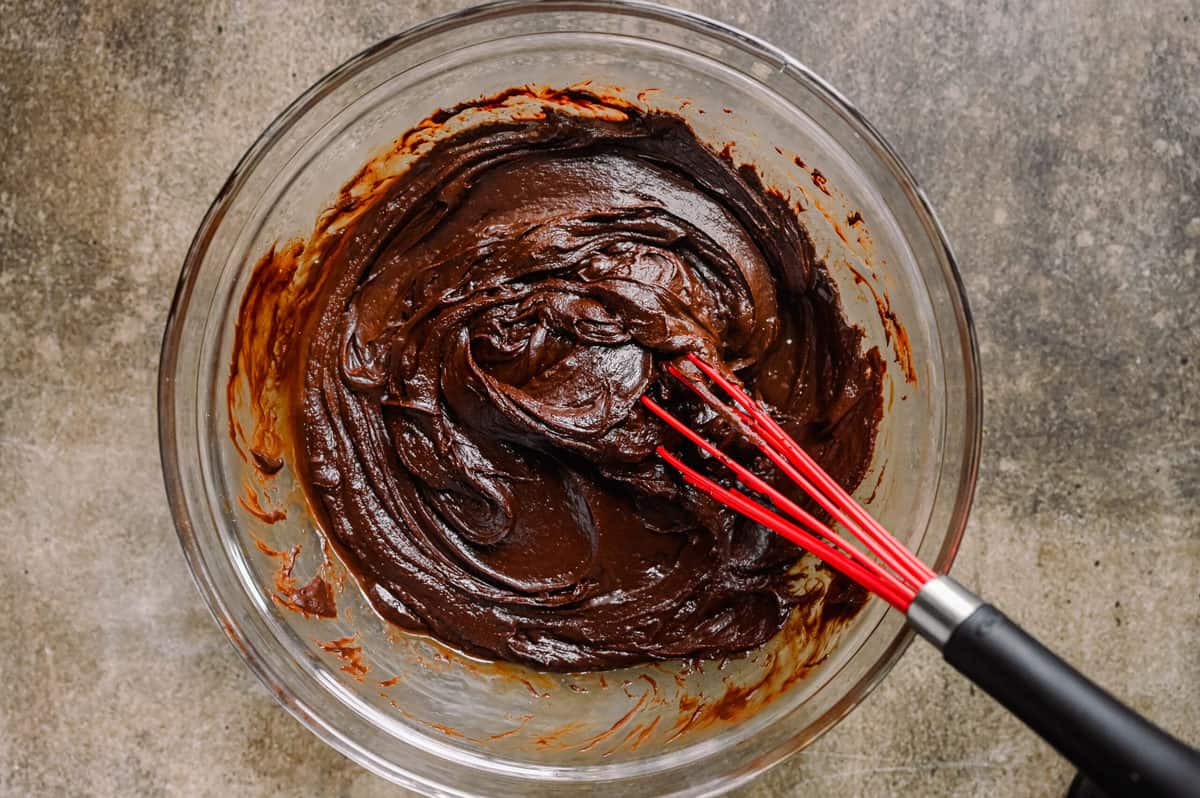
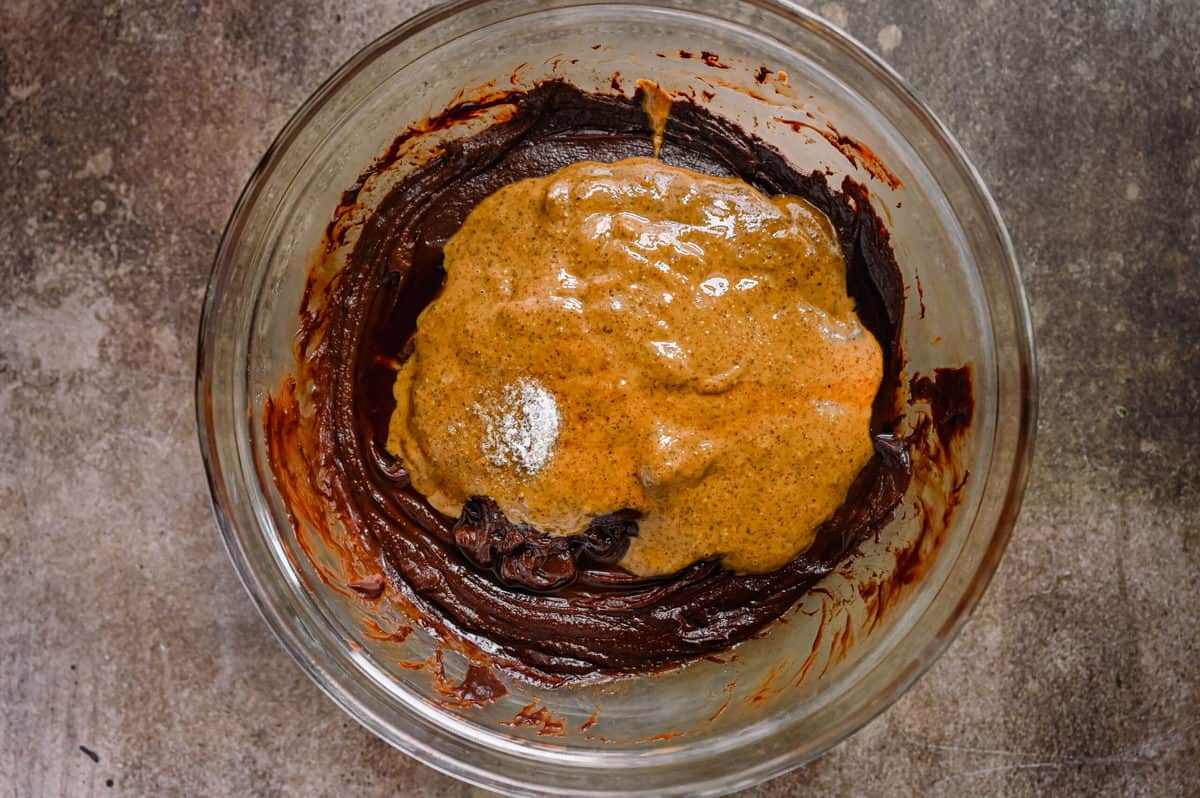
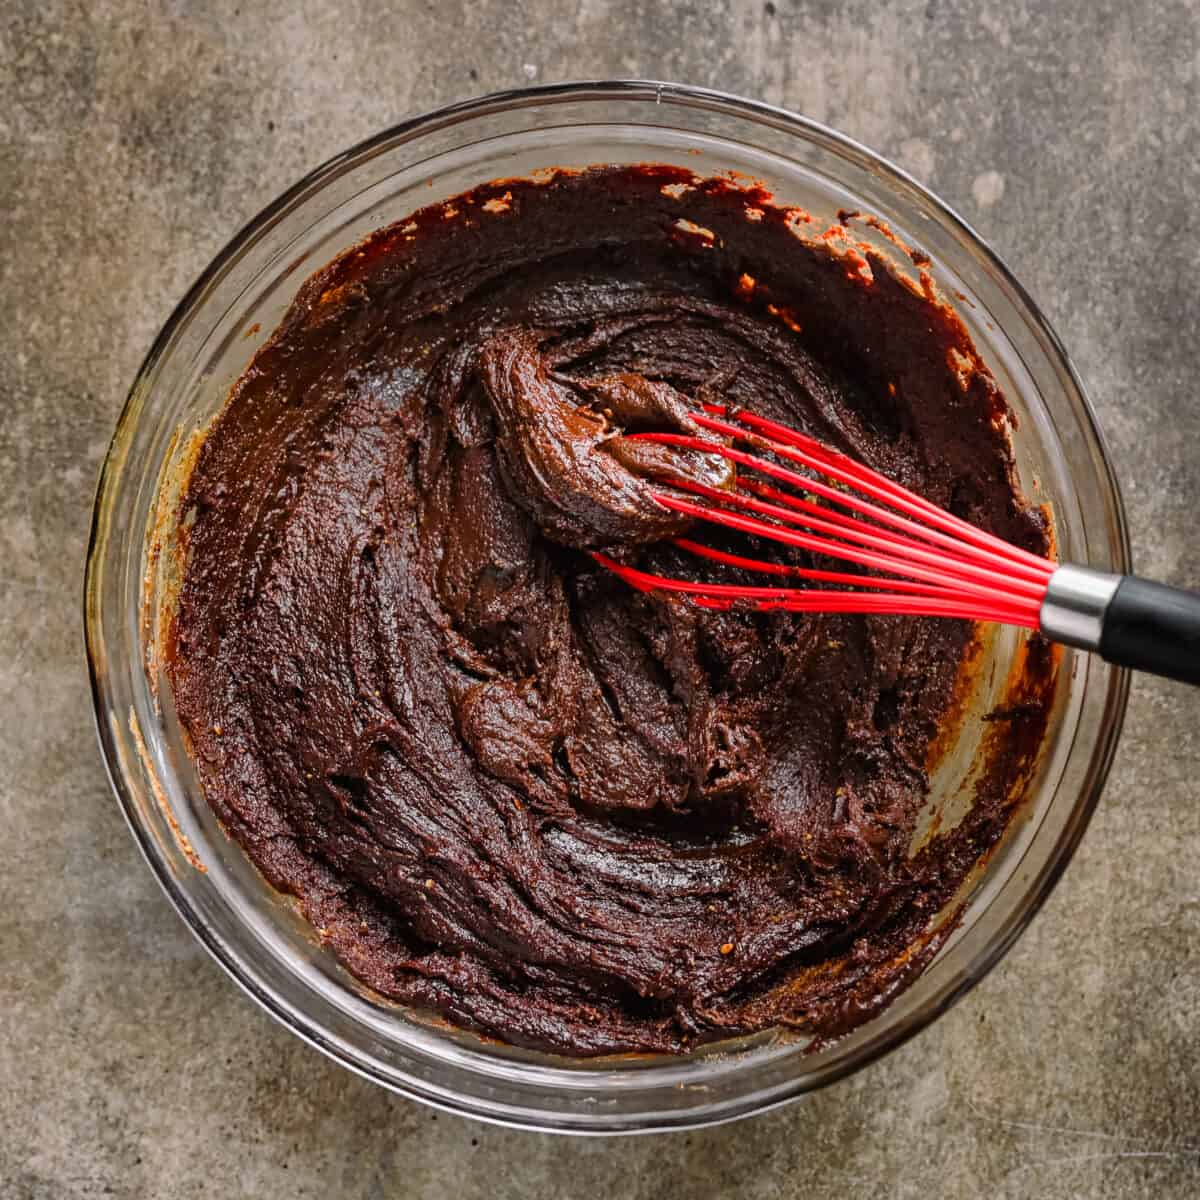
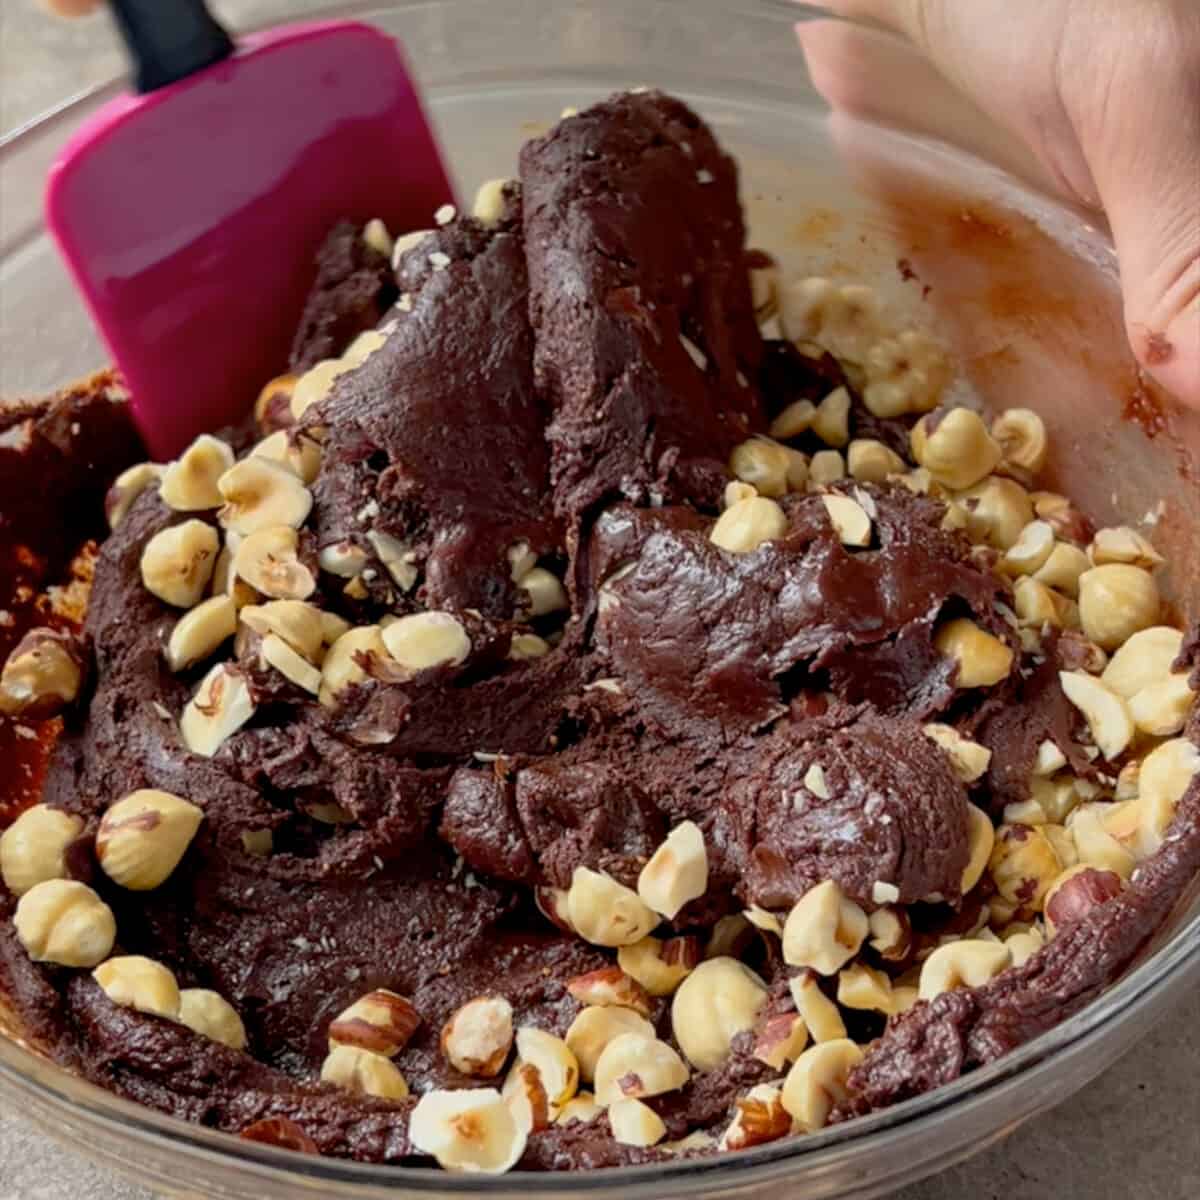
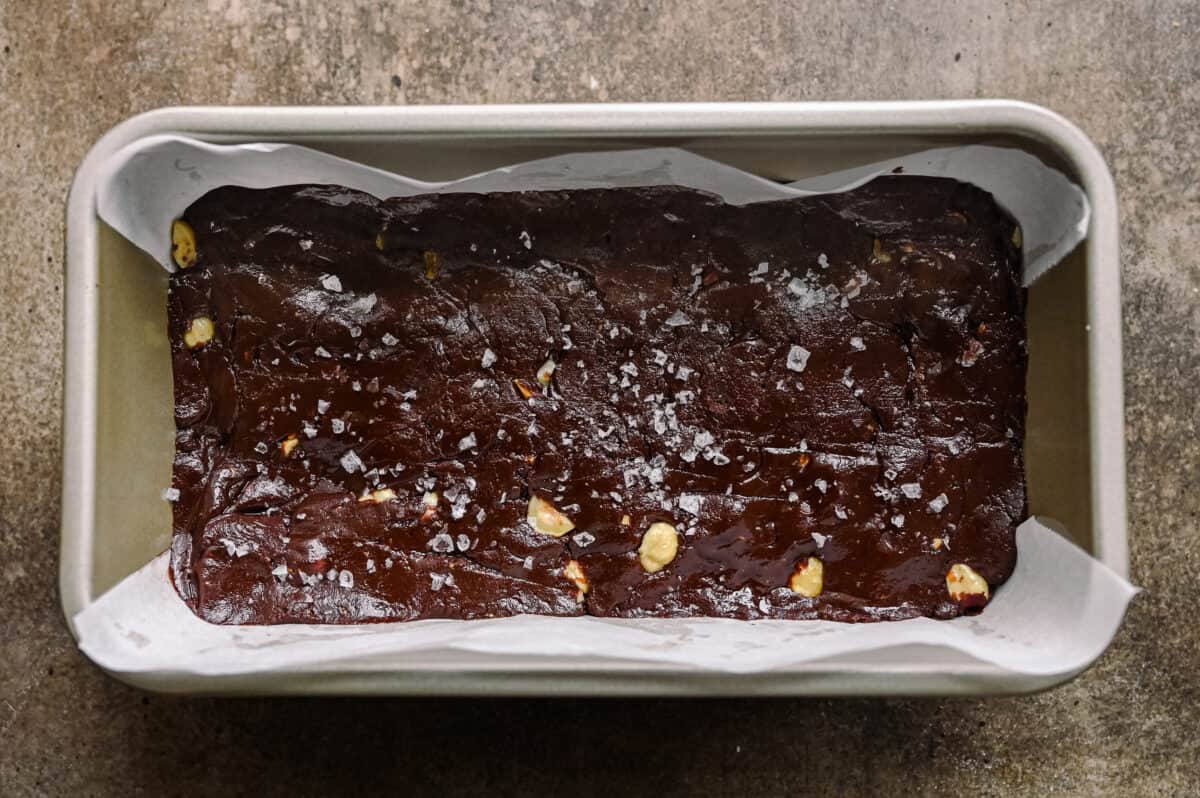
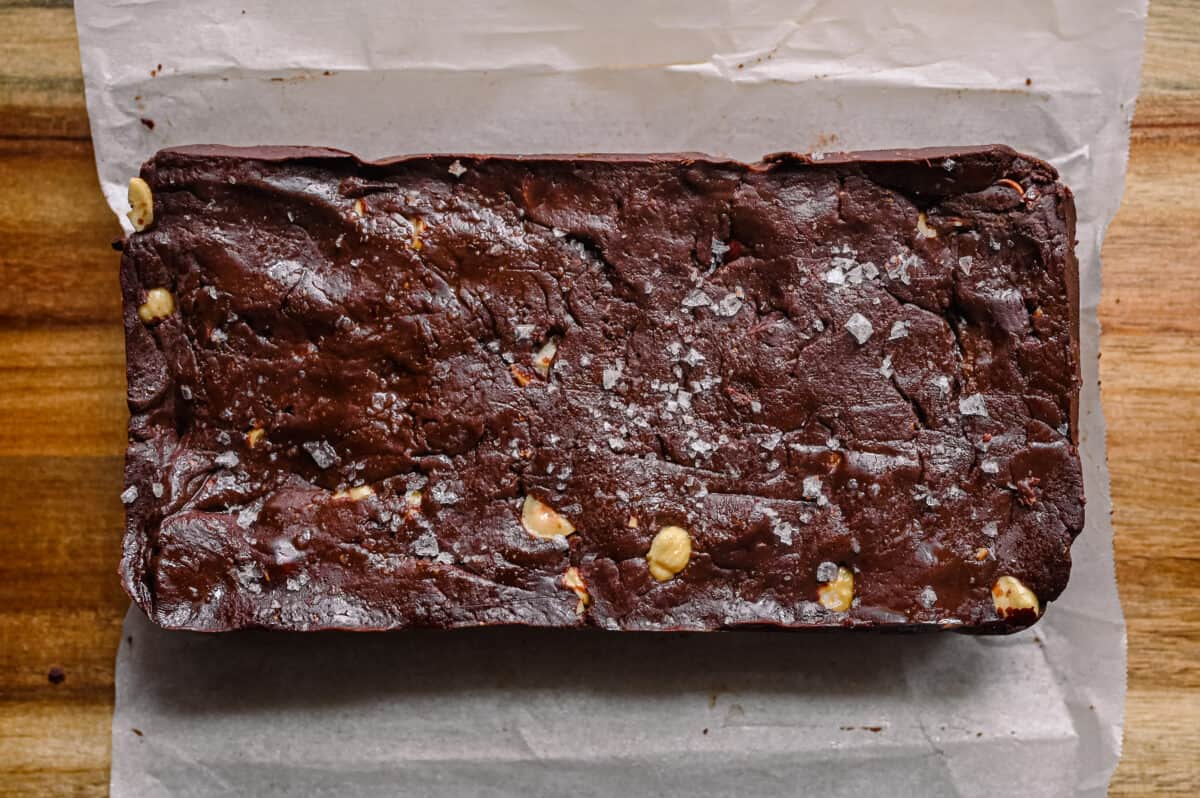
Toast the hazelnuts on a sheet pan in the oven (350ºF for 10 to 13 minutes). Transfer the hot hazelnuts to a thin dish towel and wrap it up in a tight ball. Allow to steam for 2 minutes. Use your hands to vigorously rub the hazelnuts to help remove the skins. Roughly chop the hazelnuts (no need to finely chop). Add the chocolate chips and condensed coconut milk to a medium-sized heat-proof bowl. Microwave on high for 90 seconds. Allow to sit undisturbed for 1 minutes, then whisk until chocolate is melted and mixture is thick and well-combined. Working quickly so that the chocolate stays warm, add the almond butter, vanilla, and a pinch of salt. Whisk until well-combined and thick. Fold in the chopped toasted hazelnuts with a silicone spatula. Line a loaf pan or a square 8×8″ baking pan with parchment paper. Transfer the fudge into the pan, spreading it out with a silicone spatula. Refrigerate the fudge for 1 to 2 hours until set. Use the parchment paper to remove the fudge from the pan. Allow to come to room temperature, then slice and serve.
Tips for making this recipe
Work quickly. You want to mix the ingredients while the chocolate and milk are still warm. Luckily, it takes less than 5 minutes to whisk everything together, so it’s not hard. Just don’t pause to take a hundred photos and videos like I did ;) Pick the right pan for your desired thickness. For thick/tall fudge pieces (as you see in the photos), you have two options. One, you can use a 8×4-inch or 9×5-inch loaf pan (as you can see in the step-by-step photos above). Or, you can use an 8×8-inch baking dish, but don’t spread out the fudge evenly across the pan surface. Instead push the fudge into one-half or two-thirds of the baking pan, leaving the other part of the pan empty. Essentially, you are layering the fudge on top of itself to make it thicker. The fudge is pretty malleable, so you should be able to do this easily with your hands. For thinner fudge pieces (it is very rich, after all): use an 8×8 square baking pan and spread it out across the whole surface of the pan. You could also use a glass storage container/tupperware. Use condensed coconut milk for the most classic fudge texture. In my tests, sweetened condensed coconut milk (affiliate link) made for the most traditional fudge texture: smooth, moist and soft. This makes sense since traditional fudge is typically made with condensed cow’s milk. Sweetened condensed oat milk also worked, but produced a stiffer texture. It’s still a great option if you have a coconut allergy. Use the appropriate cacao content for your fudge. If you like your fudge very sweet, feel free to use a cacao percentage as low as 55%. If you like it less sweet, feel free to use a cacao percentage as high as 75%. I typically use dark chocolate in the 63-67% range. I hope you enjoy this vegan fudge as much as we do! If you love the recipe, please be sure to rate and review it below :) PS: this fudge makes a great edible present for the holidays!
Big Vegan Flavor
Techniques and 150 recipes to master vegan cooking.