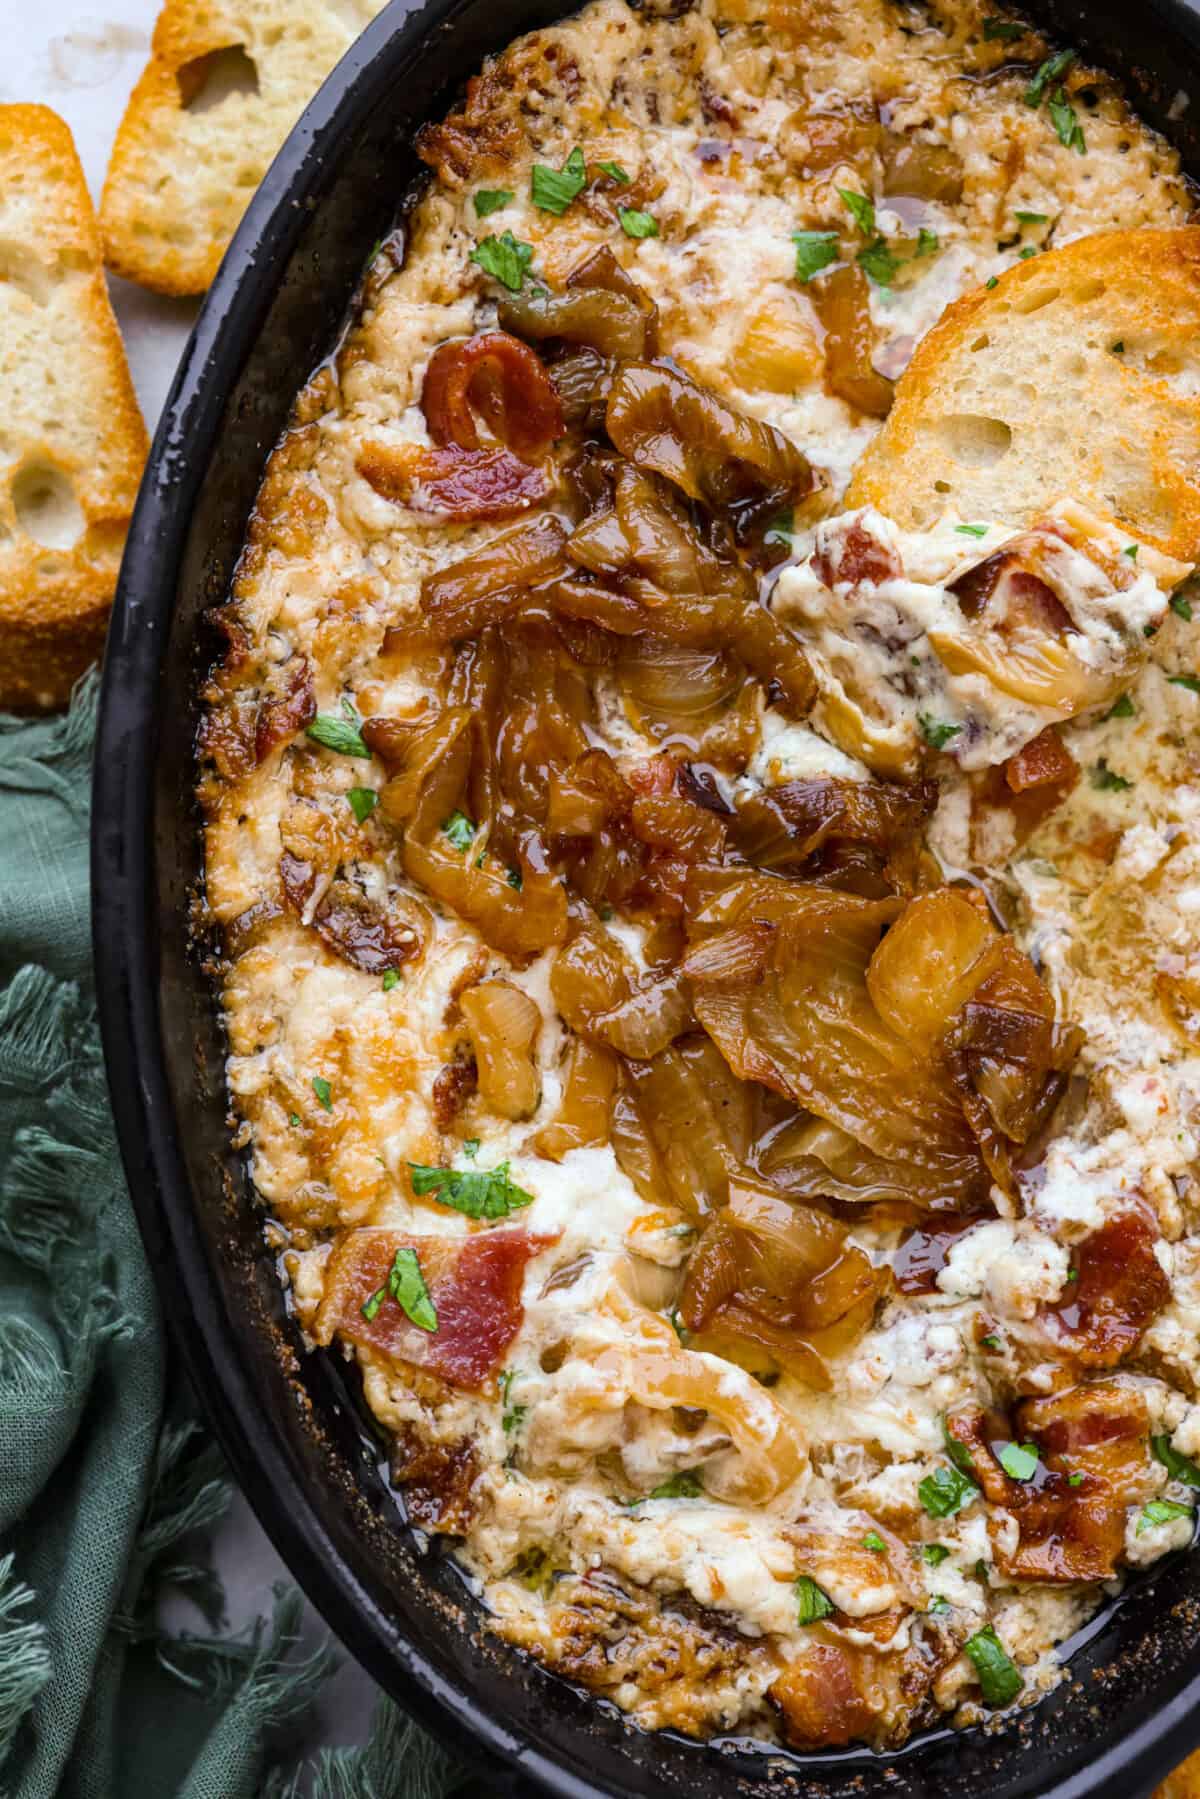
Caramelized onions are beyond delicious and can amp up the flavor of so many dishes! They help make the best appetizer in this caramelized onion and bacon dip! They’re also incredible in onion gravy, this French onion tart and, of course, French onion soup!
Caramelizing Onions
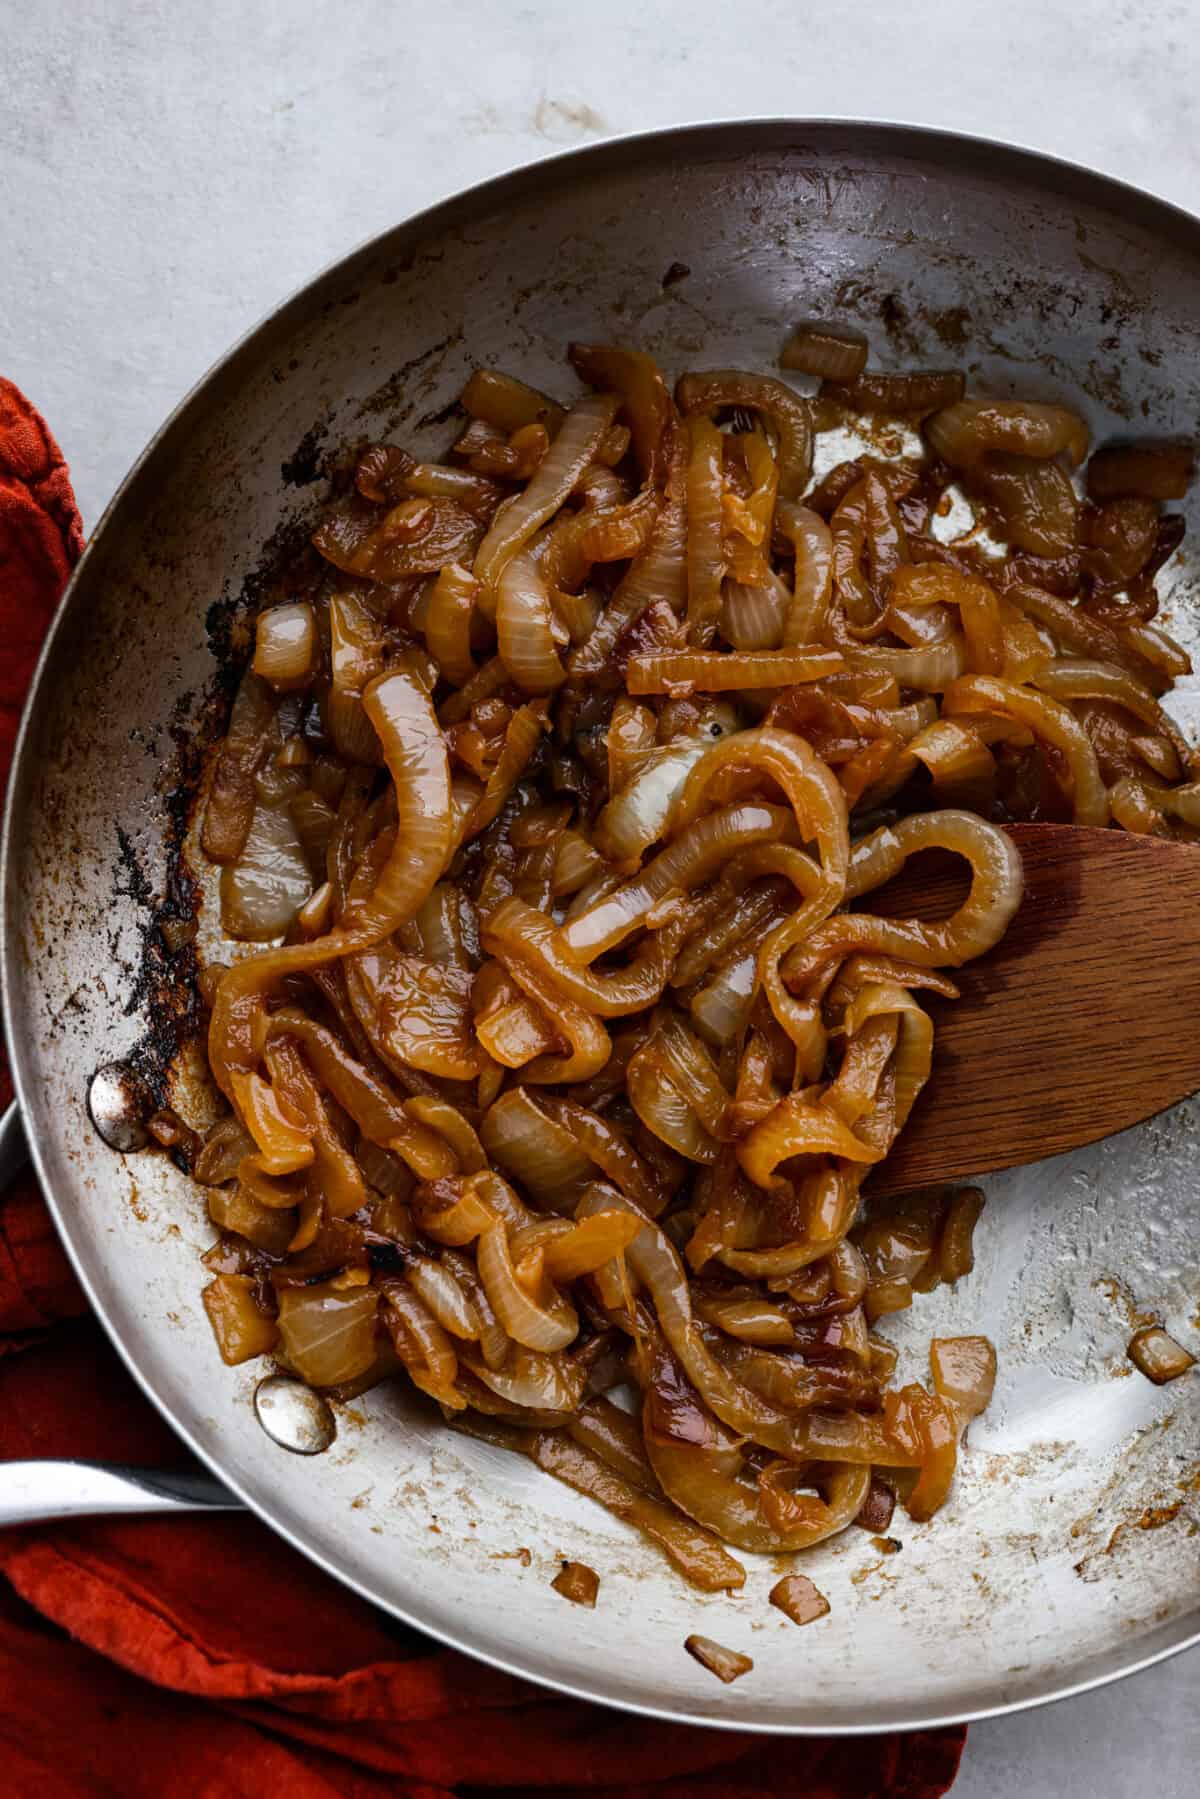
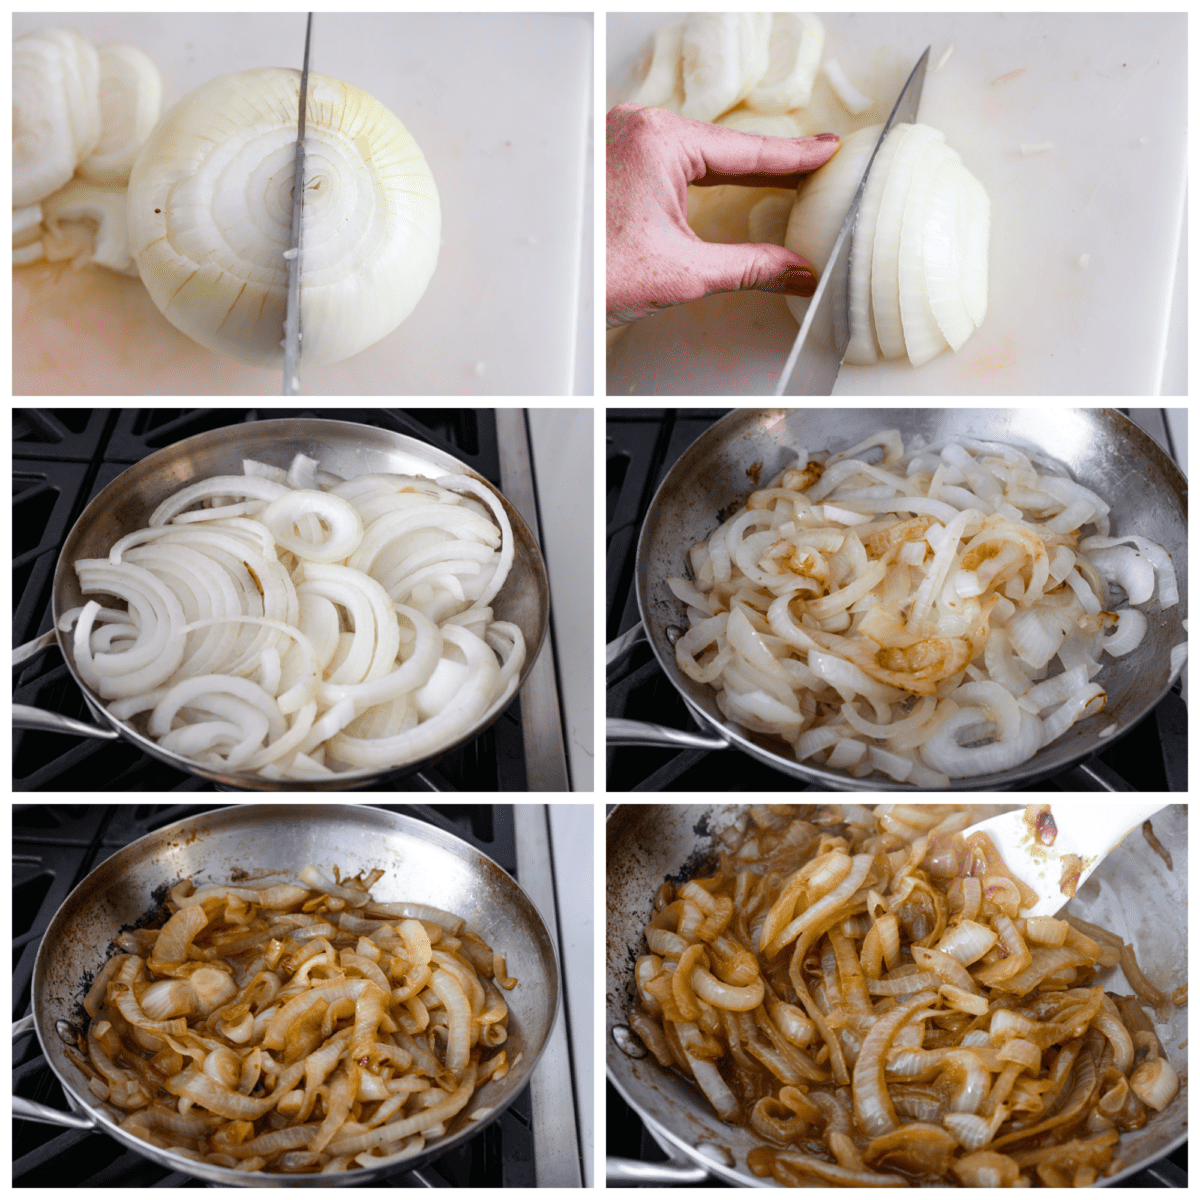
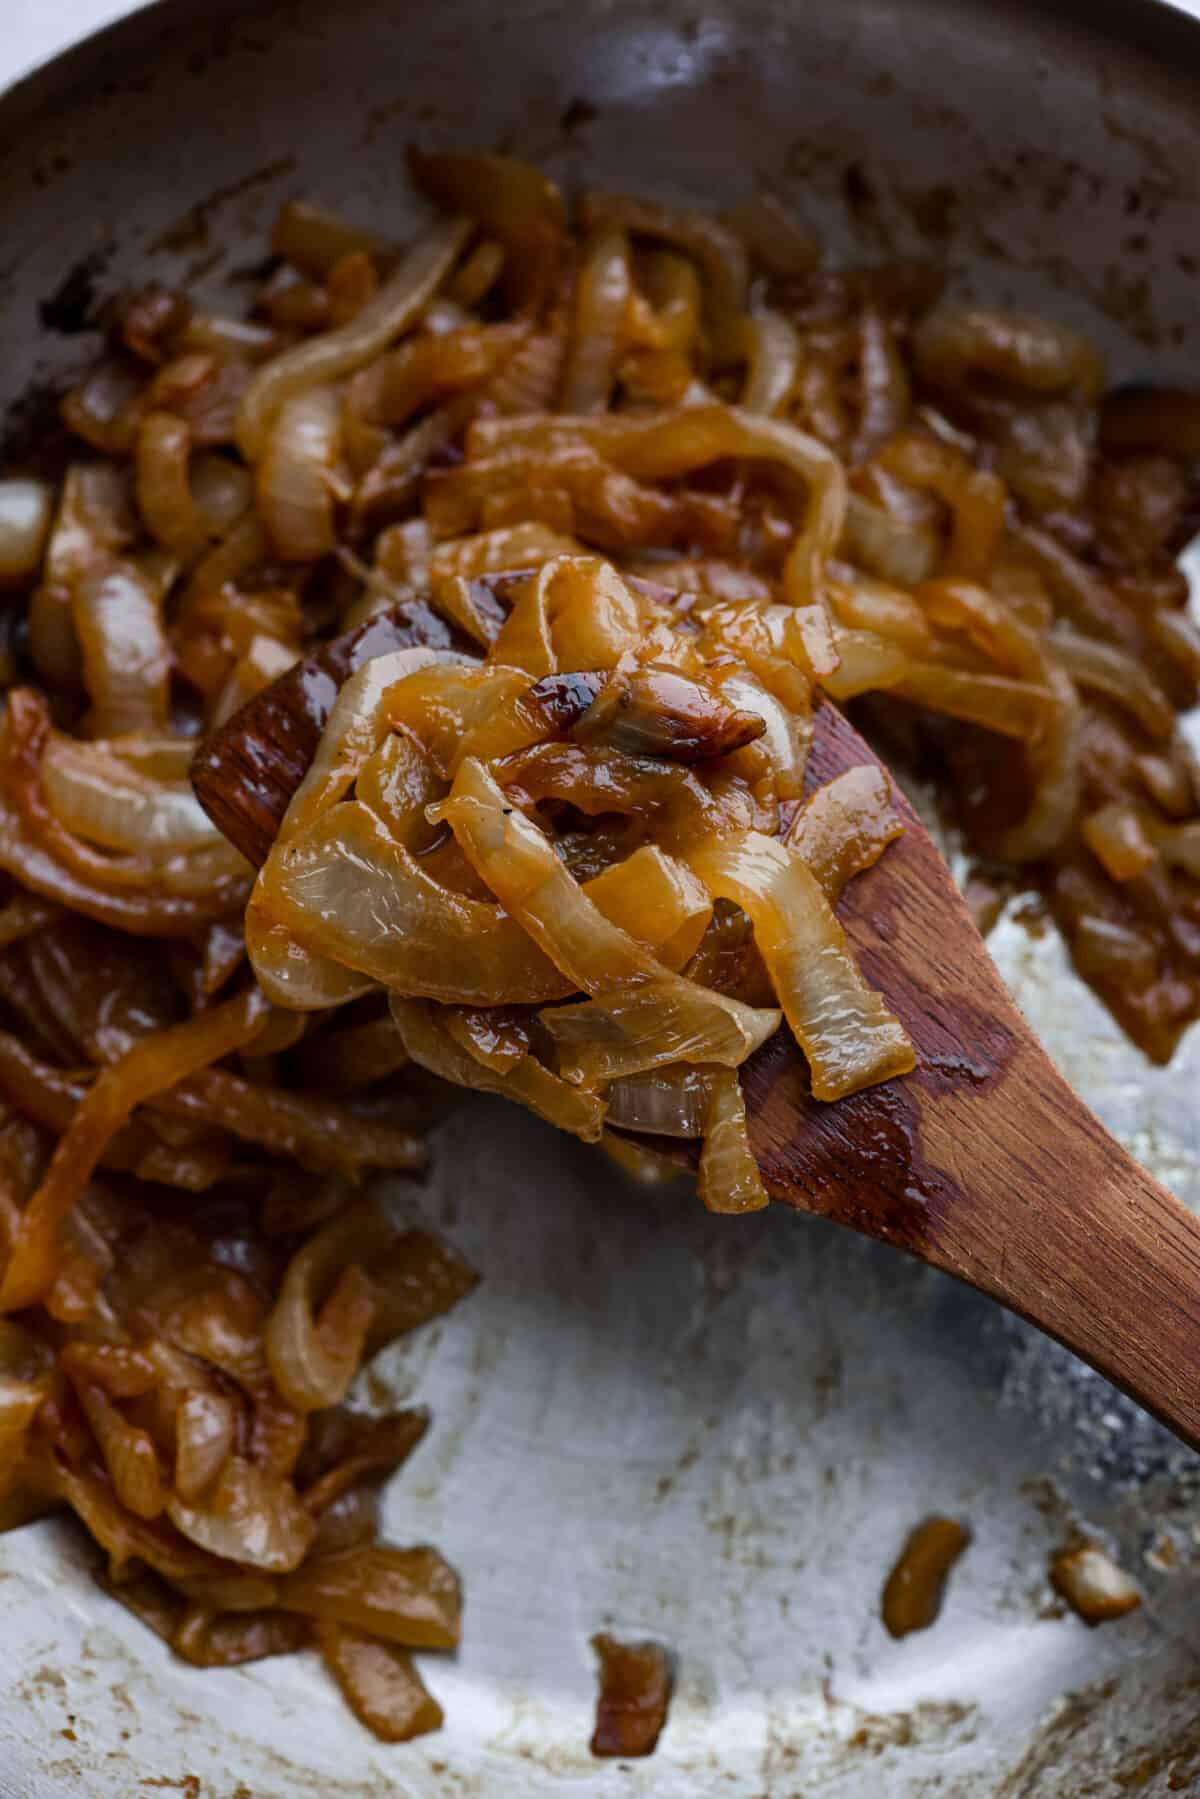
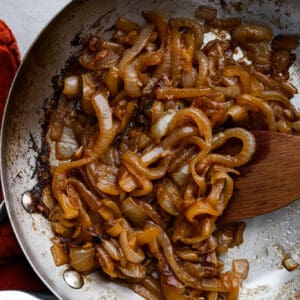
When you learn how to caramelize onions, you’ve learned how to make magic in the kitchen! Thinly sliced onions are sautéed in a pan over a long period of time, which releases the natural sugars in the onions. The end result is a unique, intensely, deep, rich, perfectly sweet flavor that will elevate any dish! They’re so good, we even love to eat them right out of the pan! In addition to being totally delicious, onions are super healthy and contain many vitamins, minerals, calcium, iron, potassium, and antioxidants. You only need a good pan, onions, butter, water and some time to whip these up. Follow our step-by-step instructions, and you’ll have some amazing caramelized onions in just about an hour. I promise, these are well worth the wait!
Ingredients Needed
Just 3 ingredients is all you need to have the most delicious complement to your entrees! After one bite of these onions, you’ll be wanting to add them to almost everything! You can find exact measurements in the recipe card at the bottom of the post.
Onions: I have found that caramelizing yellow sweet onions offer the best sweet and savory flavor. Salted Butter: Some recipes call for sautéing the onions in oil rather than butter, and while that will work, butter provides extra richness that takes these to the next level. Water: Deglaze with water as often as necessary to keep the onions from burning or sticking to the pan.
How to Caramelize Onions
Caramelizing onions to rich golden-brown perfection is a lot easier than you’d think. They definitely require some cooking time but it’s a fairly hands-off process, just some required stirring occasionally. Your stovetop does most of the work!
What Pan to Use: I recommend a large skillet, so the onions have plenty of surface area and the water can evaporate, which helps with browning. A 10-inch skillet works great for up to 3 onions. Use a 12-inch or larger pan for 4 or more onions. Cast iron skillets and stainless steel pans will produce the best results. Nonstick pans and enameled cast iron can be used, but will slow down the caramelization process. Type of Onion: I like to use yellow onions for the most balanced sweet and savory flavor. However, any variety of onion can be caramelized. White onions or red onions will offer a slightly different flavor, and Vidalia onions will become even sweeter, which may be too sweet for some recipes. Heat Level: The key to perfectly deep golden brown caramelized onions is to cook them low and slow. This will ensure they have the best flavor and have a silky texture. You can adjust the flame or burner settings as needed while cooking. Serving Suggestions: These are spectacular as a topping over pretty much any type of steak, pot roast or pizza! My family also loves them added to burgers, soups, pastas and dips! It’s a super versatile addition to many of your favorite meals.
In the Refrigerator: Store in an airtight container for 4-5 days. Reheat on the stove over medium-low heat when ready to serve. You can also pop them in the microwave to rewarm. In the Freezer: Transfer your caramelized onions to a freezer bag or freezer-safe container, and store for up to 3 months. Thaw overnight in the fridge before you reheat them.
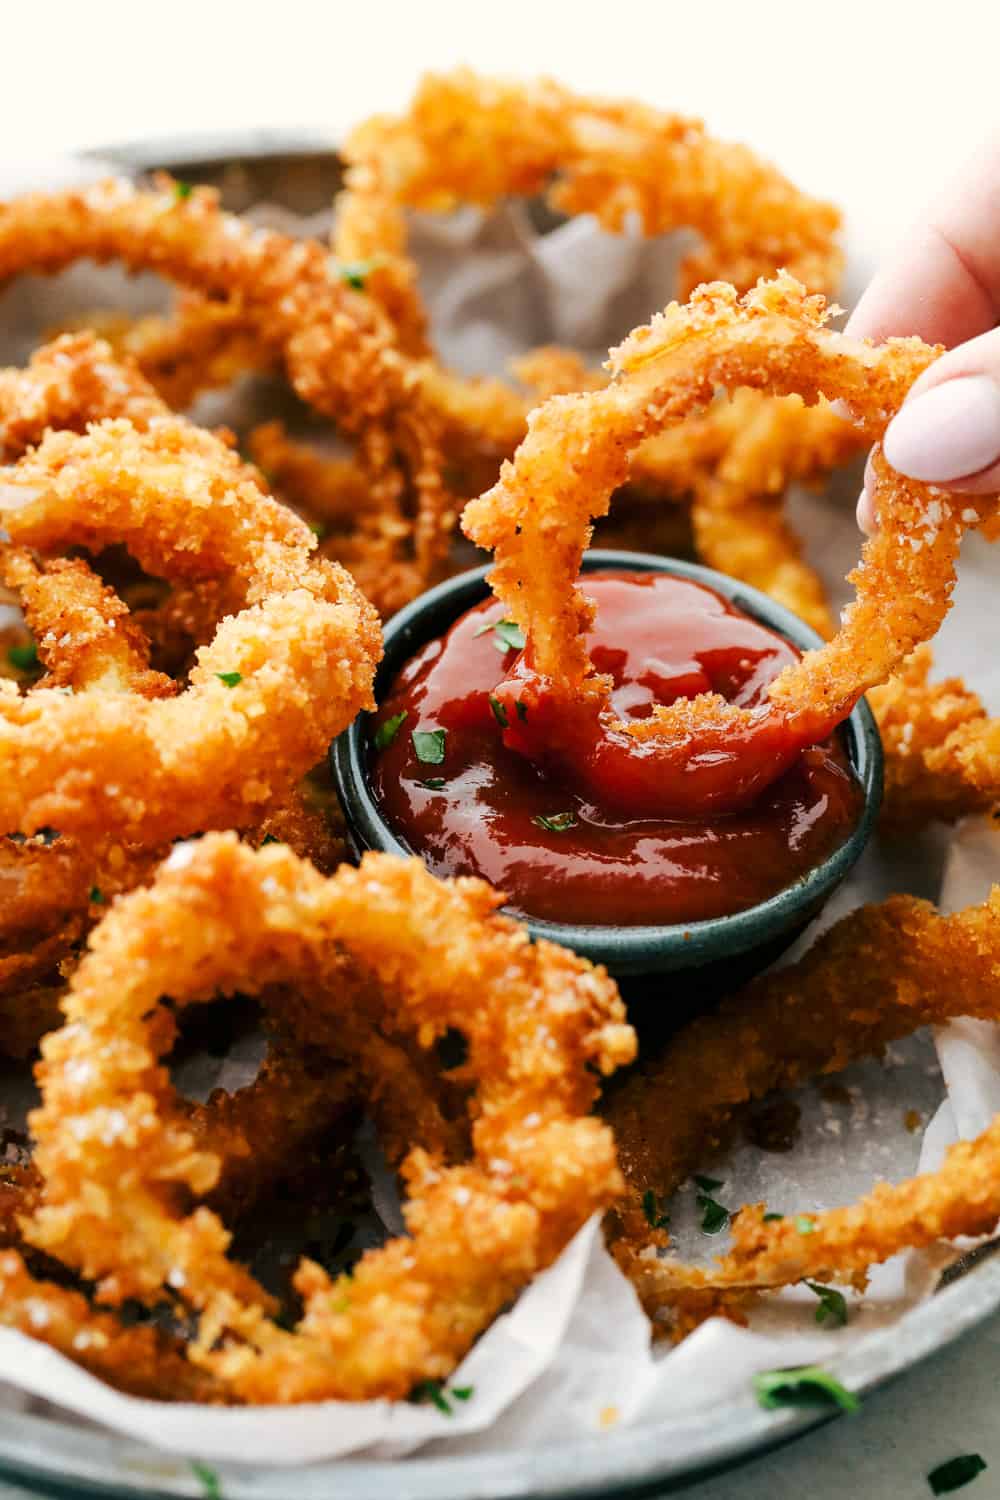
Crispy Onion Rings (Baked or Fried!)
30 mins
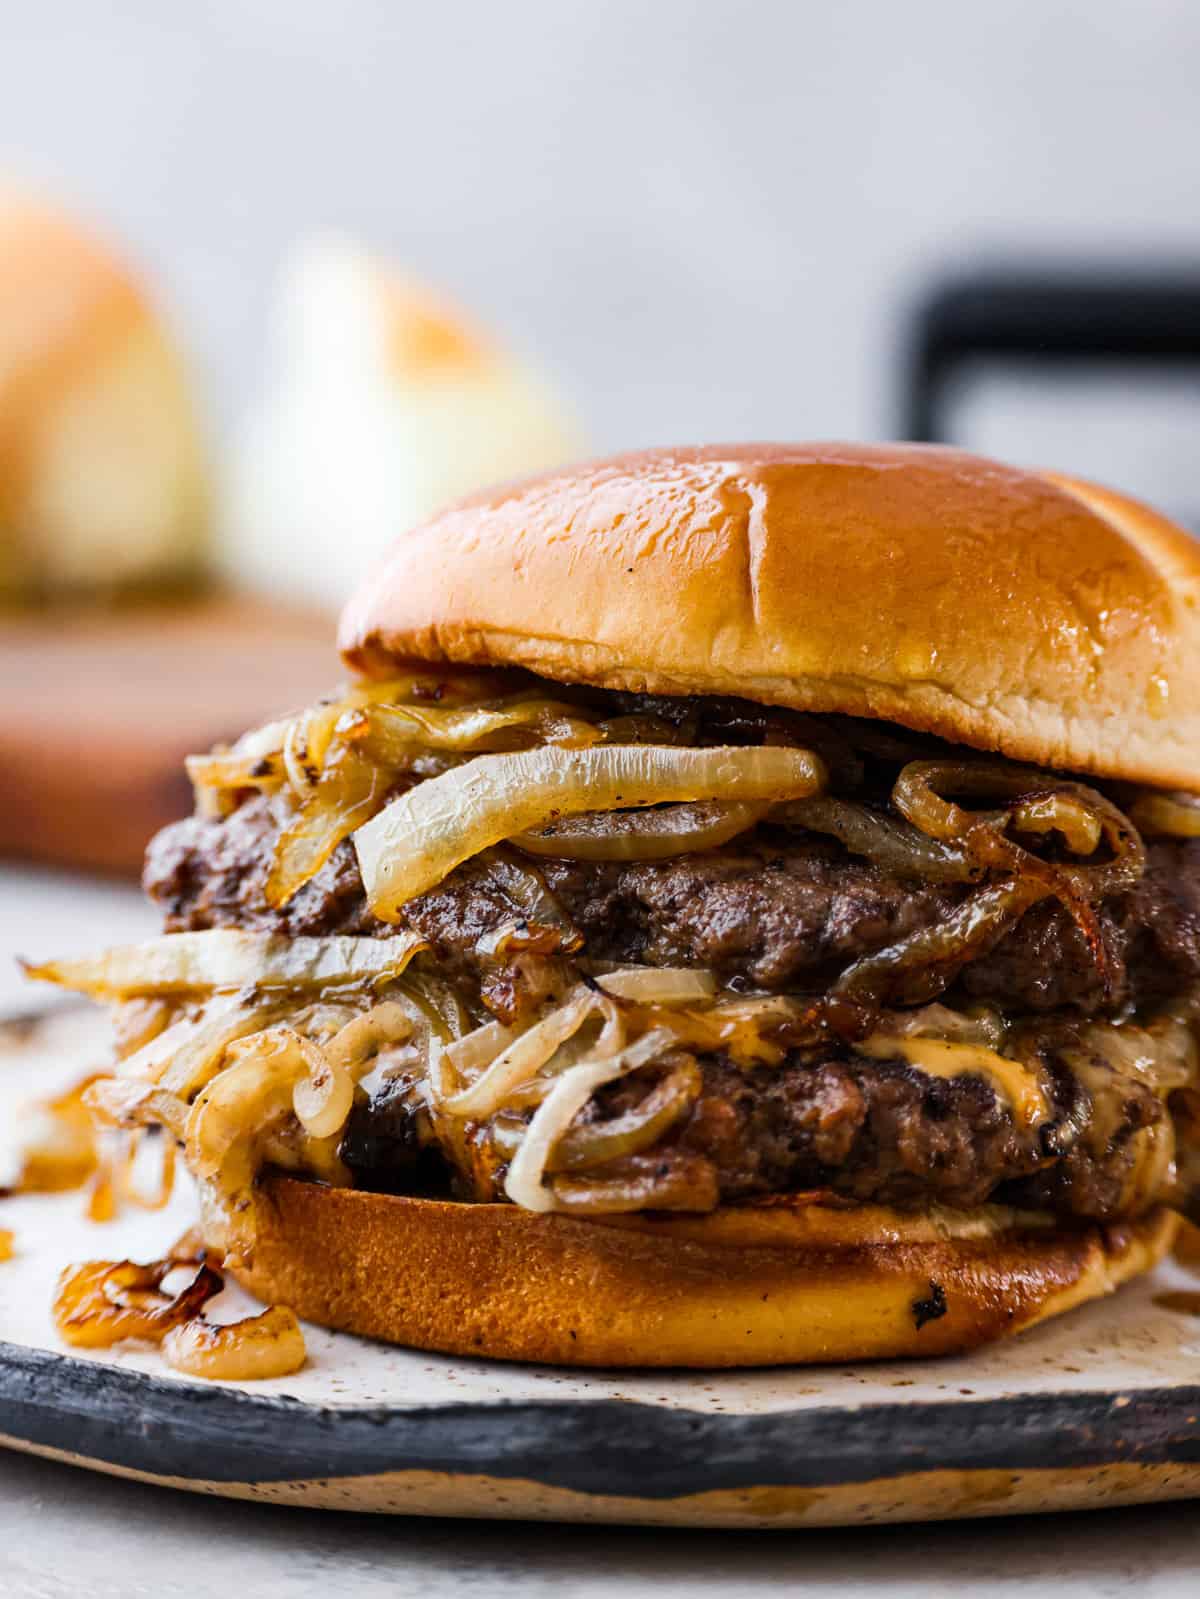
Oklahoma Fried Onion Burgers
25 mins
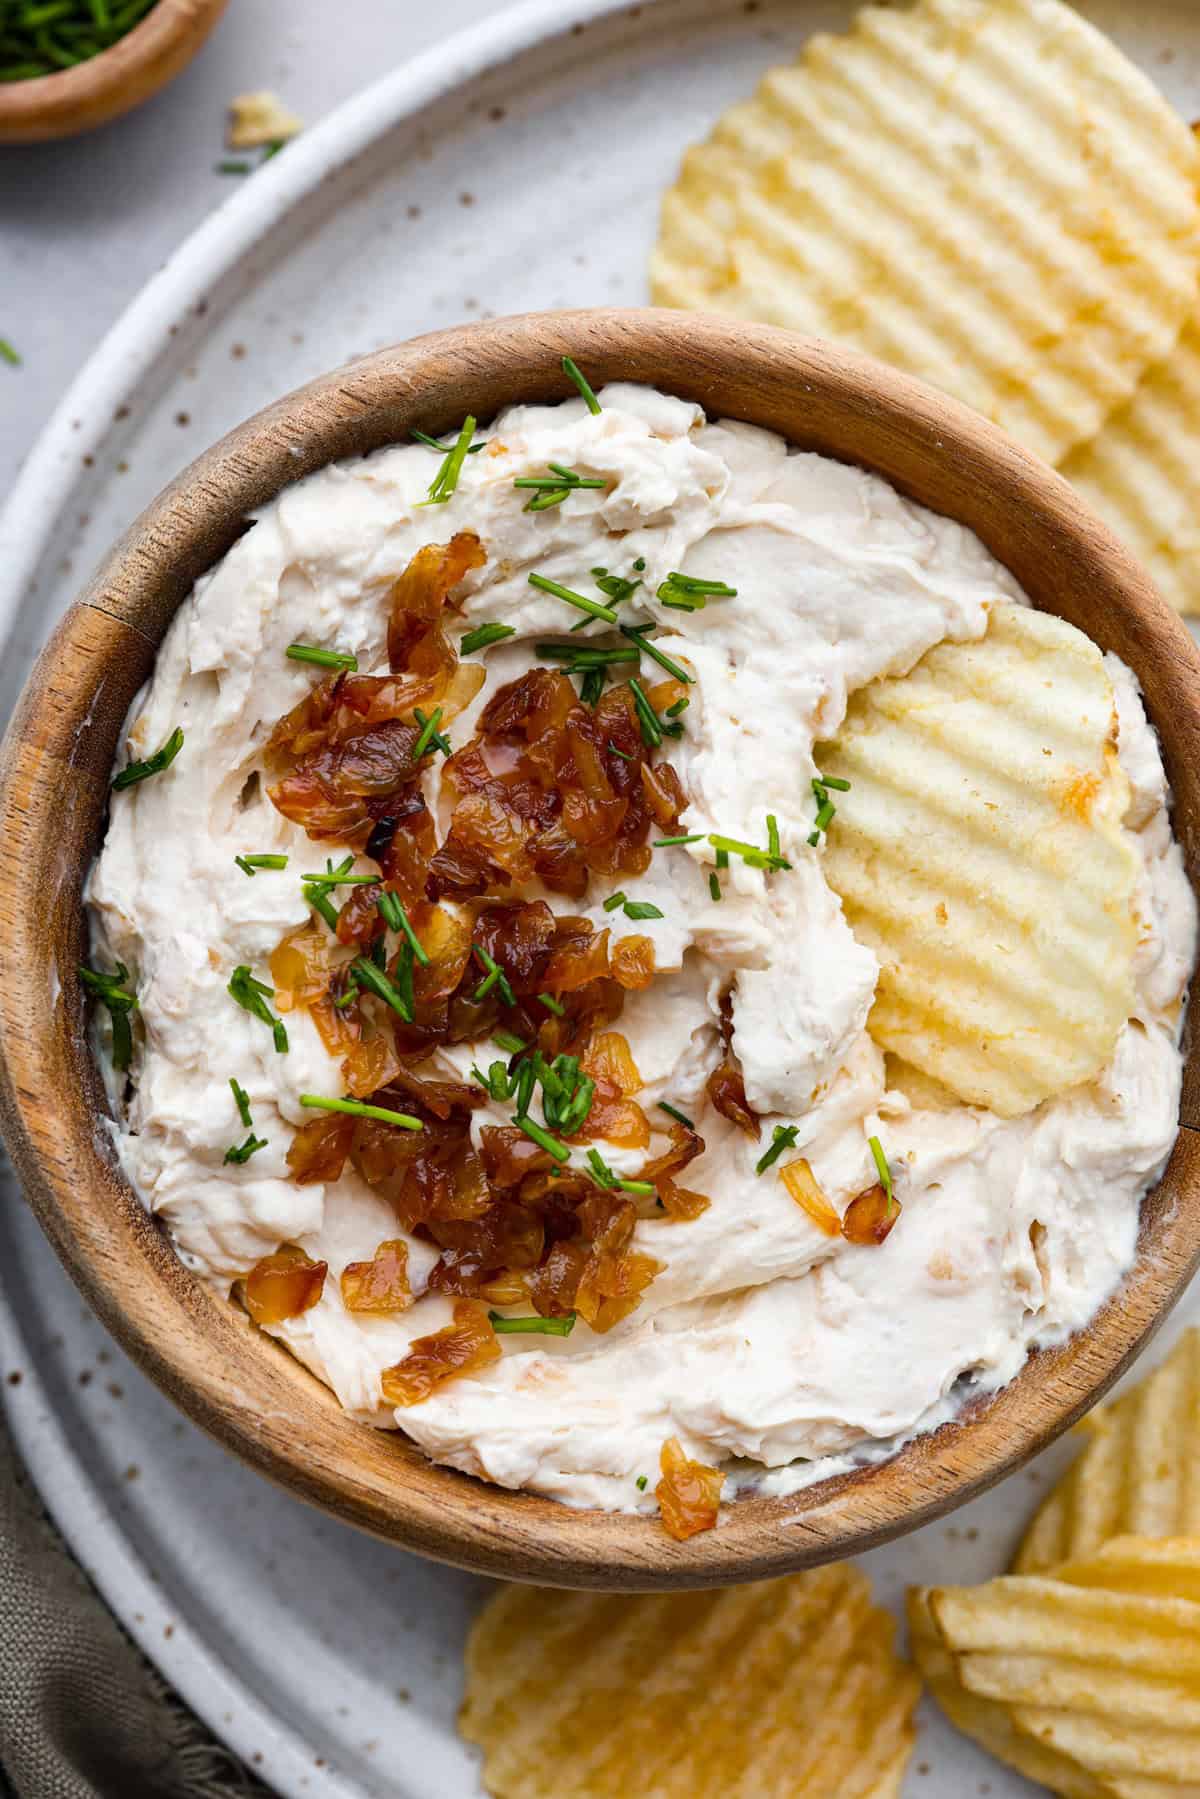
The Best French Onion Dip
40 mins
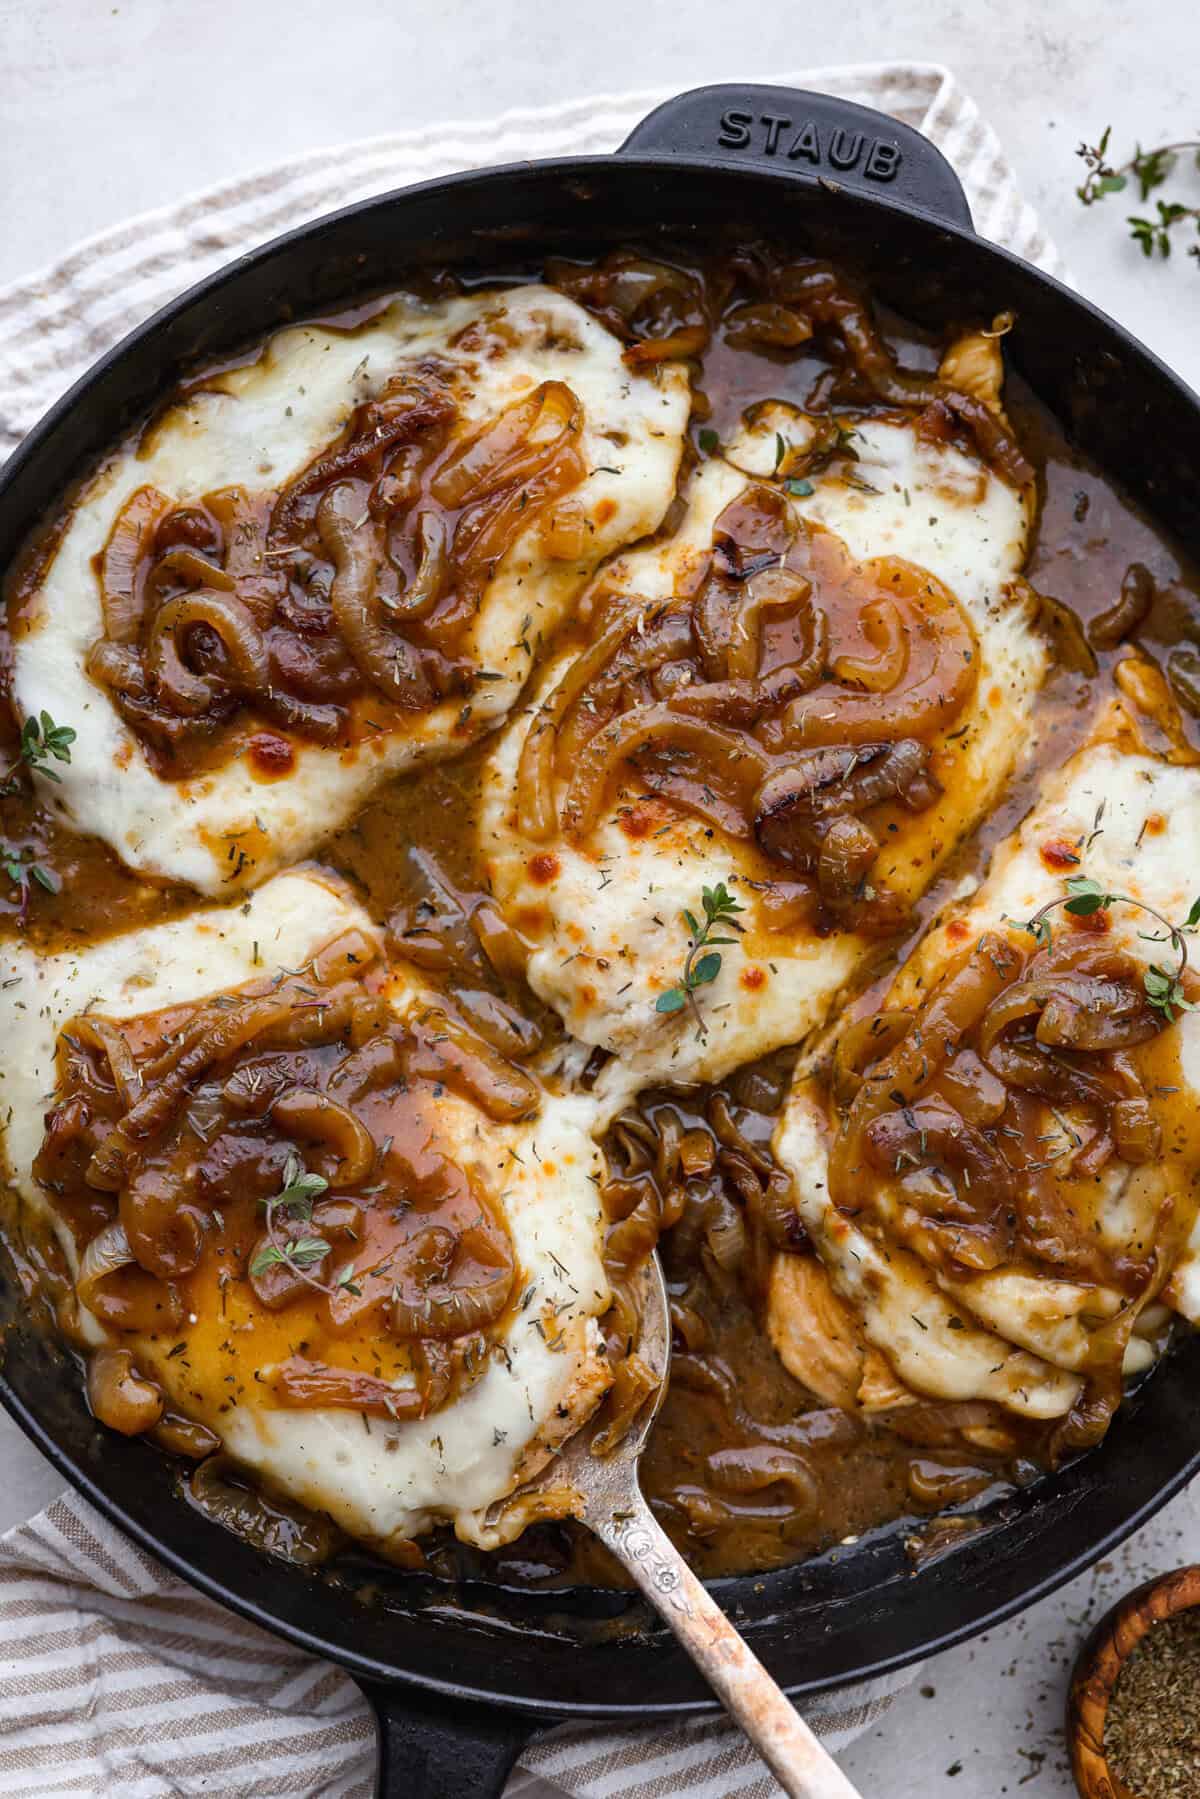
Skillet French Onion Chicken
30 mins